


Big bubbles when frothing milk? Here's how to make perfect milk froth at home.
To share
How to prevent large air bubbles in milk foam? The guide to silky-smooth microfoam
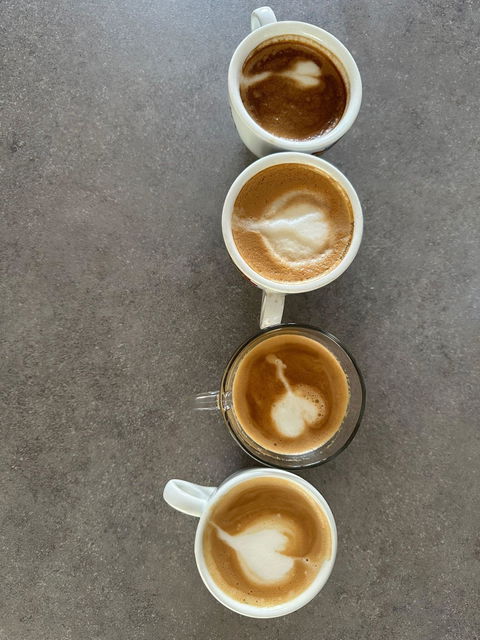
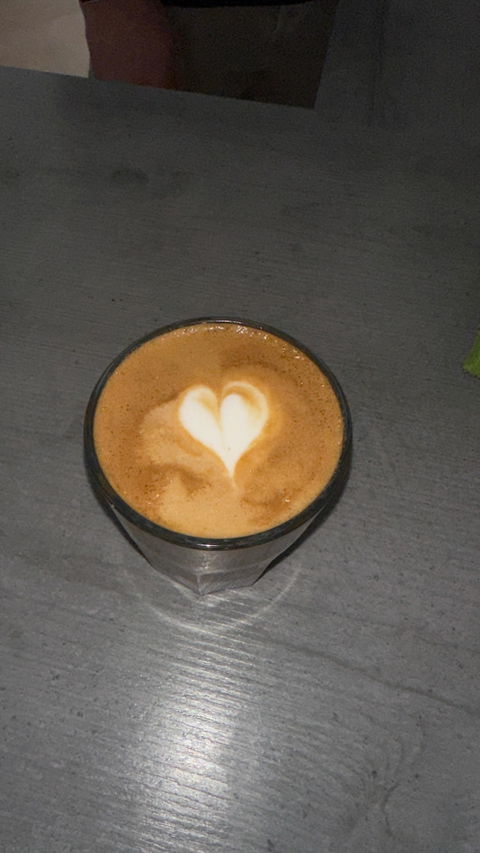
A perfect cappuccino or flat white starts with good milk foam. But what if you end up with a foam layer full of large air bubbles every time? That's a waste of your espresso and your artwork. In this blog post, we delve deeply into the milk frothing process and discover step-by-step how to create smooth, glossy microfoam—just the way the barista intended. Spoiler alert: it's all about technique, timing, and the right tools.
Frothing milk: two phases, one goal
Milk frothing occurs in two distinct phases: the cold phase (texturizing) and the warm phase (heating). If you know what to do in each phase—and especially what to avoid —you're already halfway to achieving latte art success.
Stage 1: The cold (texture) stage – making bubbles
-
Preparation is key:
First, rinse your steam wand. It often contains some water, and you don't want that in your milk. Wrap a clean barista towel around the steam wand, turn it on briefly, and wait until a strong steam comes out. Then you know it's ready to go. -
Positioning:
Insert the steam wand into the milk, just below the surface. Then turn on the steam and immediately move the steam wand towards the surface. You want to hear a soft crackling sound —that's the sound of microbubbles being created. - Pay attention to the sound:
- Too deep? You'll hear screeching or screaming.
- Too high? You'll get big bubbles and splashes.
-
Feeling is knowing:
Feel the milk jug with your hand. Once it reaches approximately body temperature (~40°C), the cold phase is complete. Time to move on to phase two.
Phase 2: The warm (heating) phase – removing bubbles
-
Head slightly below the surface:
Now, lower the steam head slightly below the milk's surface. You'll no longer hear a crackling sound—and that's precisely the point. The milk will continue to heat up, and the bubbles will be "massaged" into the froth. -
Wait until it's hot enough:
When you can no longer hold the milk jug (around 70°C), your milk is ready. Turn off the steam wand before removing it from the milk. -
Donate now!
Don't let your milk sit. No phone calls, no cookies to prepare. Pouring directly prevents the milk and foam from separating again.
Troubleshooting: 6 Common Causes of Large Air Bubbles
1. Your steam pipe has not been properly pre-rinsed
Before frothing milk, you'll want to prime your steam wand. There's always some water in the wand. Wrap a barista cloth around your wand and turn it on. Wait until you hear or see a strong stream of steam coming out of it. Stop your machine and remove the barista cloth. Insert your steam wand into the cold milk (just below the surface) and turn it on. Then, bring your wand to the surface to create bubbles.
👉 Pro tip: Use the milk frother cleaner tabs to keep the inside of your steam pipe sparkling clean as well.
2. You use too little or too much milk
You have too little or too much milk in your milk pitcher. Always fill your pitcher to the top of your pour spout or nozzle. The right amount of milk ensures the steam has enough milk to work with. Too little milk allows the steam to "blow" through the milk too much, creating large bubbles. Too much milk causes overflow. After all, your milk expands during steaming.
👉 Check out our stylish milk jugs – available in different sizes for optimal control.
3. You're frothing too hot
You're heating the milk too hot. Hot milk produces coarse, large bubbles. Hold your hand around the milk pitcher and stop the steam wand when you can no longer touch the pitcher. Then your milk will be around 70 degrees Celsius: the ideal temperature for drinking your cappuccino.
4. You keep adding air for too long
After the cold phase, don't create any more bubbles on the surface. Otherwise, you'll get coarse bubbles and textureless foam. You'll continue creating bubbles for too long. Milk frothing happens in two phases. In the first "cold" phase, we bring the steam wand head to the surface (neither above nor below the surface – this will cause squealing or screeching). In the second "warm" phase, we bring the steam wand back slightly below the surface. Then we remove the bubbles and heat the milk further to approximately 70 degrees Celsius (see point 3).
5. Your milk isn't turning properly
Create a vortex in your milk. Don't place the steam wand in the center , but slightly off-center. The swirling milk neatly folds the air bubbles into the foam. Your milk won't swirl if it's in the center of the milk pitcher. Make sure the steam wand isn't exactly in the center of the milk pitcher, but slightly off-center (so a bit closer to the side). This creates a vortex. During the first "cold" phase and the second "warm" phase, the swirling milk ensures that the bubbles are neatly "dissolved" in the milk. Be careful: don't fill the pitcher with too much milk, but just up to the nose (see point 2).
6. Too much foam remains on the milk
A small island of foam remains on top of the milk during the second phase. You've pushed the steam wand too deeply into the milk, preventing it from swirling properly. Place your steam wand just below the surface again during the second phase so you no longer hear the crackling sound. But not too deeply, as this will stop the swirling. If you place the wand just below the surface, all the bubbles will be swirled away nicely into the milk.
7. Only liquid milk when pouring
When I start pouring, all that comes out of the jug is liquid milk, followed by a lump of frothy milk. Always make sure you pour immediately after frothing. Don't put your milk jug down after frothing, don't call your mother, or set out saucers. The stagnant milk in the jug will start to separate due to gravity. And we don't want that in the milk jug, but in your cup. So call your mother first, make your espresso, get the cookies ready, and finally, froth your milk and pour it immediately.
👉 Serve your cappuccino in a wide barista cup – perfect for latte art and maintaining temperature.
In summary
Large air bubbles in your milk foam aren't a coincidence, but the result of small errors in technique or timing. With the right steaming technique, attention to temperature, and the right tools, you can create velvety-soft microfoam at home just like your favorite barista.
☕ Ready for better cappuccinos?
Check out the tools to help you perfect your milking game:
- Milk jugs for perfect control
- Barista wipes for a clean workflow
- Milk frother cleaner for a steam pipe without residue
- Wide latte art cups for perfect presentations
Want to master this step by step? Then a barista workshop might be just what you need. 😉 Discover how, with the right guidance, you can get even more enjoyment out of your coffee routine.